Hive Stand Height and Placement: A Full Guide
Hive Stand Height and Placement: A Full Guide
Most new beekeepers spend weeks agonizing over which hive type to buy, but far fewer think carefully about what the hive actually sits on. That's a mistake, because the stand beneath a colony affects everything from moisture control to how often a beekeeper gets stung during routine inspections. A hive placed directly on the ground invites rot, pests, and dampness. A hive perched too high becomes awkward to lift, inspect, and manage safely, especially once boxes are stacked full of honey.
This guide focuses specifically on the height and placement decisions that determine whether a hive stand actually works for the beekeeper using it, not just for the bees living in it. Backyard beekeepers managing one or two colonies in a suburban yard face different constraints than someone running a dozen hives on rural acreage, and the right stand height reflects those differences. What follows covers the practical reasoning behind hive stand height, common design approaches, and the placement mistakes that quietly cause problems for months before anyone notices.
Whether someone is building a stand from scratch, buying prefabricated beehive stand plans, or simply repurposing an old table, the same underlying principles apply. Understanding them prevents a lot of back strain, moisture damage, and unnecessary colony stress down the road.
Why Hive Stand Height Matters
The question of how high should a beehive stand be doesn't have a single universal answer, but it does have a well-understood range. Most experienced beekeepers keep the bottom of the hive somewhere between 12 and 24 inches off the ground, with 18 inches being a common practical sweet spot. That range balances several competing needs at once, and understanding those needs explains why the number matters more than it might first appear.
Ground moisture is the biggest driver. Wood in direct or near contact with soil absorbs groundwater through capillary action, and damp wood invites rot, mold, and wood-boring insects. A hive stand height in the 12 to 24 inch range keeps the hive body well clear of splashback from rain and away from the humidity that collects at ground level, particularly after storms or during humid summer stretches common across much of the United States.
Height also affects pest and predator pressure. Skunks are notorious for scratching at hive entrances at night to provoke bees they then eat as they emerge, and a low hive entrance makes this far easier for them. Raising the hive stand height even a foot higher than a skunk can comfortably reach while standing meaningfully reduces this kind of nighttime harassment. Ants, too, find it slightly harder to establish trails onto an elevated stand, especially when the stand legs are also treated with a barrier method like petroleum jelly or specialized ant moats.
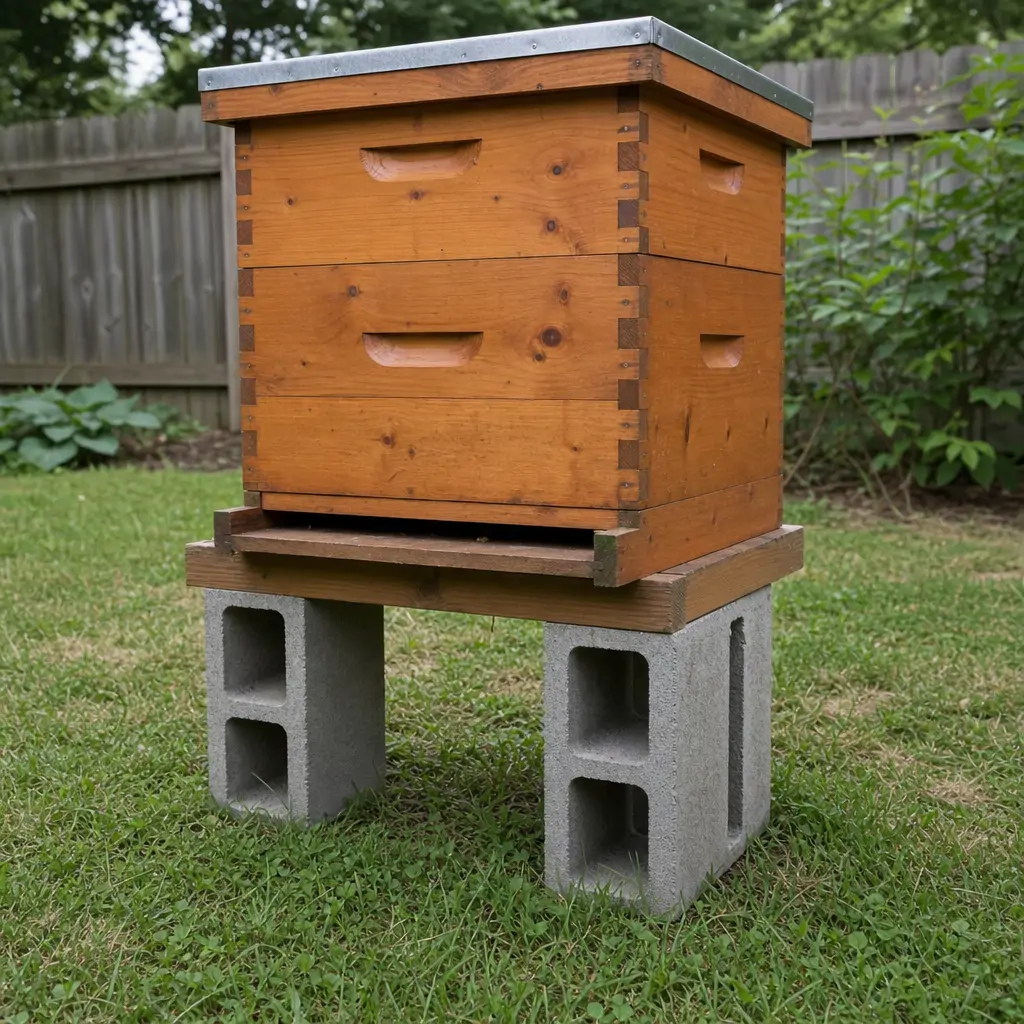
There's a human-centered reason as well, and it's one that many guides skip entirely. A hive stand height that suits a five-foot-two beekeeper will feel very different to someone six-foot-four, particularly once a hive grows to three or four honey supers stacked on top of a brood box. At that point, lifting a full super off the top of a tall hive means reaching well above shoulder height, which is both physically taxing and more likely to result in a dropped box, crushed bees, or an aggravated colony. Many hobbyists find that a slightly lower stand, closer to 12 to 16 inches, makes those late-season inspections far more manageable, even though it sacrifices a little ground clearance.
The takeaway here is straightforward: hive stand height is a compromise between protecting the colony from moisture and predators and keeping the hive at a workable height for the person tending it, and that compromise shifts depending on the beekeeper's own physical build and the eventual height of a fully supered hive.
Choosing the Right Stand Design and Materials
Once the target height is settled, the next decision is what the stand is actually made from and how it's built. This is where beehive stand plans vary widely, and where a bit of practical thinking prevents future headaches.
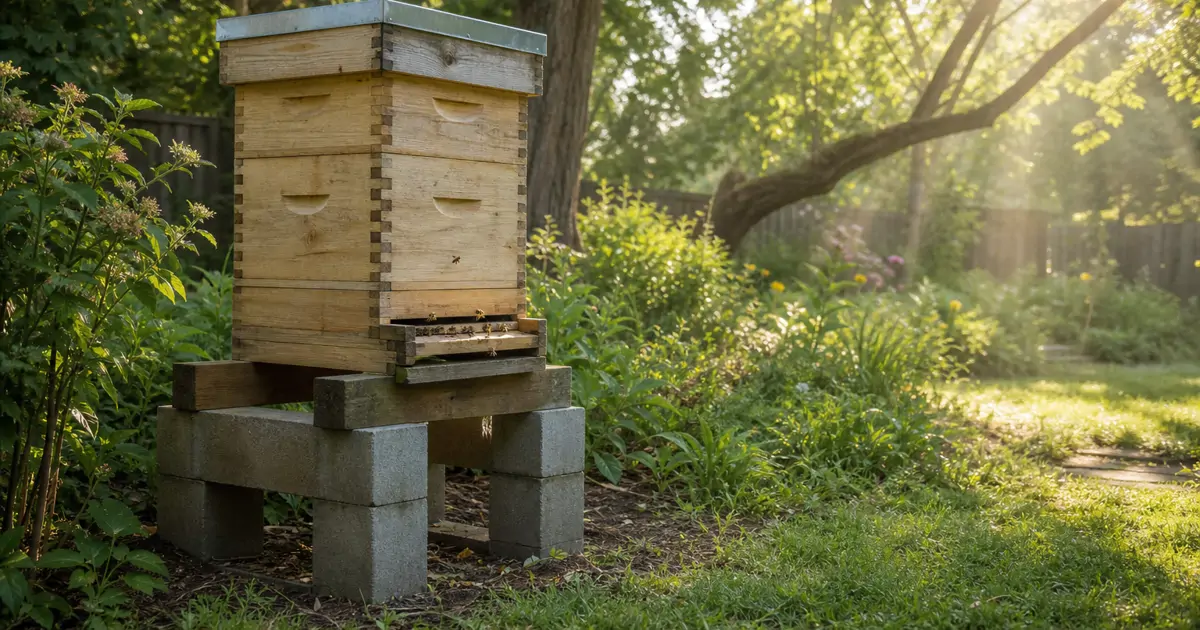
Cinder blocks stacked under a treated lumber frame remain one of the most common approaches, largely because they're inexpensive, resistant to rot, and easy to adjust. A beekeeper can simply add or remove a block layer to fine-tune height without rebuilding anything. The tradeoff is that cinder block stands aren't always level on uneven ground, and stacked blocks can shift slightly over a freeze-thaw winter, so periodic rechecking of level is worth the five minutes it takes.
Welded metal stands and treated wood frames offer more stability once properly anchored, and many beekeepers prefer them specifically because they don't wobble even when leaning on the hive to remove a stuck super. The wood-versus-metal decision here echoes a broader debate beekeepers already navigate around beehive material wood vs plastic for the hive boxes themselves; the same logic about weather resistance, cost, and longevity applies to stand construction too.
Common Mistakes in Stand Construction
One frequently overlooked factor is failing to account for the total weight a stand needs to support. A single deep Langstroth box full of honey can weigh close to 90 pounds, and a hive with multiple supers stacked during a strong nectar flow can easily exceed 150 pounds. Stands built from flimsy pallet wood or undersized legs sometimes hold up fine when a hive is light in early spring, then fail or sag by midsummer once honey stores build up. Testing a stand's load capacity before installing a colony, not after, avoids a genuinely dangerous collapse.
Another common mistake is building a stand that's level side-to-side but ignoring the front-to-back tilt. A slight forward tilt, roughly a quarter inch of drop from back to front, actually helps rainwater and condensation drain out of the entrance rather than pooling inside the hive floor. Beekeepers who obsess over perfect flatness sometimes miss this small but meaningful detail, and the result is a damp hive floor that stays wet long after a storm has passed.
In short, a good stand isn't just about hitting a target height; it needs to hold real-world weight and be angled slightly to shed water, two details that separate a stand that works from one that quietly causes problems.
Placement Considerations Beyond Height
Height is only half the equation. Where the stand sits within the yard shapes airflow, sun exposure, and how easily a beekeeper can work around the hive without disturbing neighbors or getting in the bees' flight path.
Morning sun with afternoon shade is the pattern most beekeepers aim for across the country. Early sunlight warms the hive and encourages bees to start foraging earlier in the day, which matters during short nectar flows. Afternoon shade, by contrast, prevents the hive from overheating during peak summer heat, which can stress a colony and, in more severe cases, contribute to comb softening inside the box. A hive baking in full sun all afternoon in a Texas or Georgia backyard faces very different stress than the same hive in a shaded Vermont yard, so local climate should factor into the final placement decision.
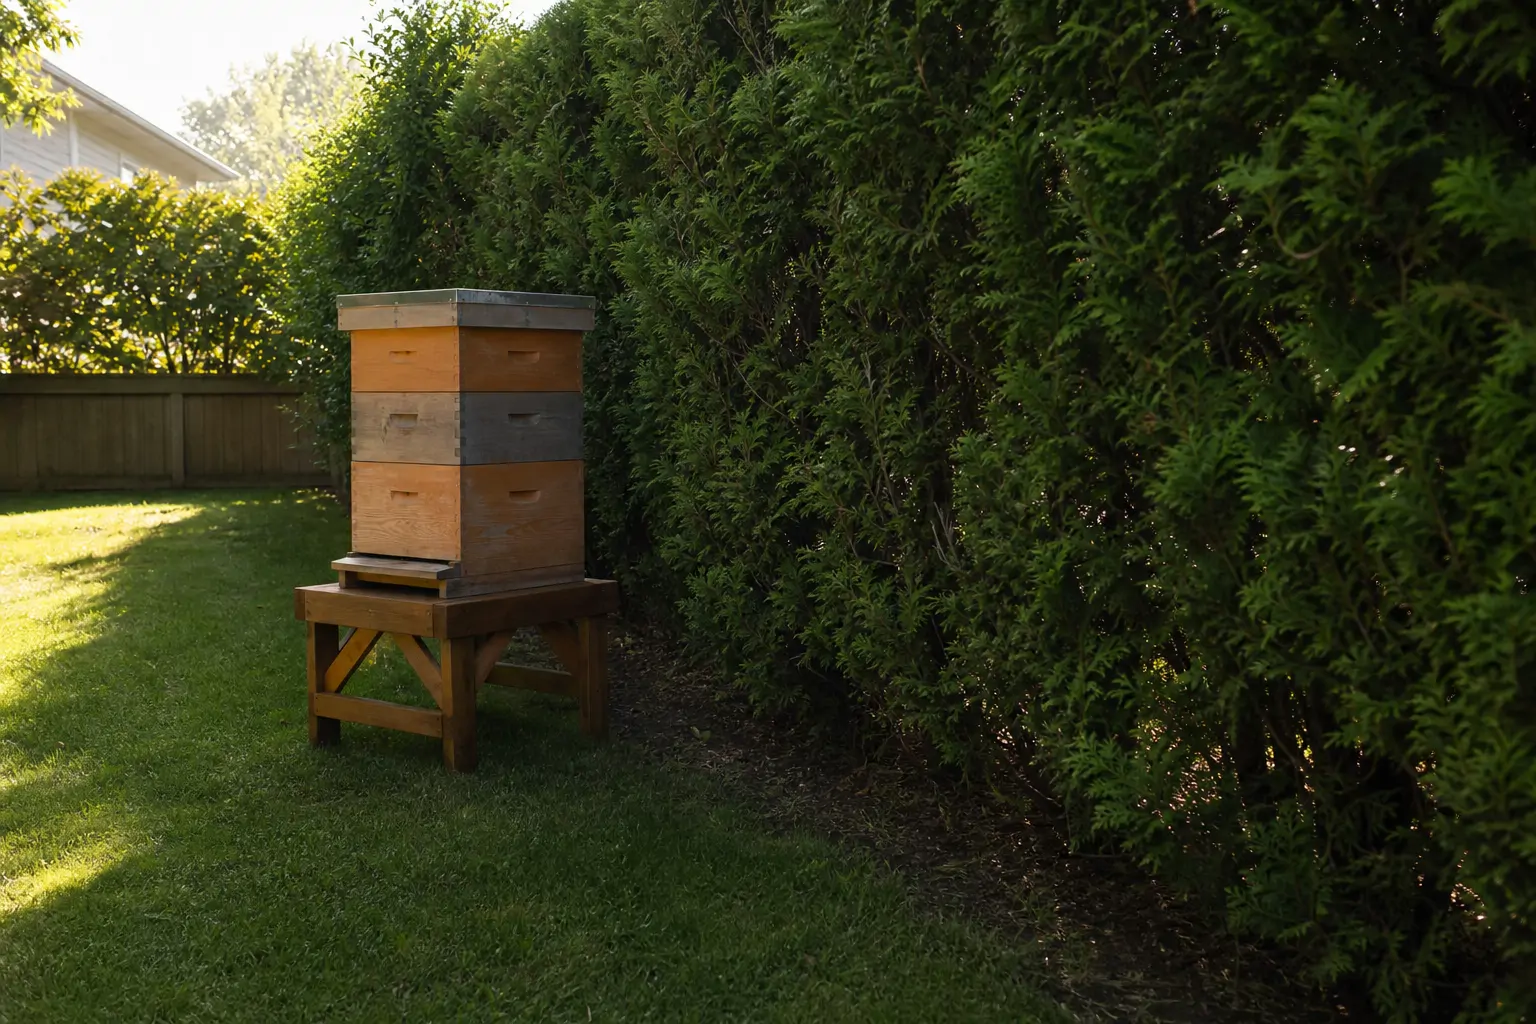
Flight path direction deserves more attention than it usually gets. Bees generally fly out and return along a fairly consistent line from the entrance, and pointing that line toward a fence, hedge, or other tall barrier forces bees to gain altitude quickly rather than crossing at head height through a yard where people, pets, or neighbors might be walking. This single placement choice prevents a large share of the minor stinging incidents that give backyard beekeeping a bad reputation among non-beekeeping neighbors.
Practical Considerations for Small Yards
Space-constrained suburban lots present their own puzzle. A hive stand height and orientation that works well on five acres might not be workable on a quarter-acre lot with close neighbors on three sides. In these situations, raising a low fence or dense shrub line directly in front of the hive entrance, combined with careful stand orientation, does more to manage bee traffic than height alone ever could. It's also worth remembering that local ordinances in many municipalities specify setback distances from property lines, and stand placement needs to respect those rules regardless of what would otherwise be ideal for the bees.
What Many Guides Miss About Seasonal Placement
Few articles mention that placement needs reconsidering across seasons, not just once at setup. A spot that offers welcome afternoon shade in July can become a cold, damp pocket in December if it sits low in the yard where cold air settles. Beekeepers practicing what's sometimes called stationary beekeeping vs migratory beekeeping benefit from picking a single permanent spot that balances both extremes reasonably well, rather than optimizing entirely for one season, since moving beehives repeatedly just to chase ideal conditions introduces its own stress on the colony.
Putting these pieces together, placement decisions around sun, wind, and flight paths often matter as much as the stand height itself, and both should be settled before the first colony ever arrives.
Adjusting Stand Height for Different Hive Types
Not every hive style calls for the same stand approach, and this is one area where a generic answer genuinely falls short.
A Langstroth hive, built in stackable boxes, grows taller as the season progresses, so its stand height should account for the eventual full height once several supers are added, not just the starting brood box. A top bar hive, by contrast, stays a fixed length and height throughout the season since it expands horizontally rather than vertically, which makes stand height planning noticeably simpler and more predictable. Anyone comparing langstroth hive vs top bar hive setups for the first time should factor this difference into their stand design, since it directly affects long-term ergonomics.
A Warre hive, often set up with a quilt box and sloped roof, is traditionally kept lower to the ground in many designs, reflecting its more naturalistic management philosophy, though modern builders sometimes raise it slightly higher for practical inspection access. Meanwhile, hives designed around built-in observation or harvesting features, such as those marketed for easier honey extraction, don't fundamentally change the stand-height math; the same weight and moisture principles still apply regardless of how the honey eventually gets collected.
The practical implication is that stand height shouldn't be decided in isolation from the hive type chosen. Someone weighing a Langstroth setup against a horizontal top bar design should plan the stand at the same time as the hive itself, rather than treating it as an afterthought once the boxes are already ordered.
Conclusion
Getting hive stand height and placement right isn't a decorative detail, it's a functional decision that shapes moisture control, pest resistance, and the physical ease of every future inspection. A stand somewhere between 12 and 24 inches high, built to handle real seasonal weight, tilted slightly forward for drainage, and positioned with sun exposure and flight paths in mind, solves the large majority of problems beekeepers otherwise discover the hard way.
There's no single perfect number that fits every yard or every beekeeper, and that's fine. The goal is a stand that keeps the colony dry and protected while staying comfortable enough for the person doing the lifting, inspecting, and harvesting season after season.