Honey Straining and Bottling: A Complete Guide
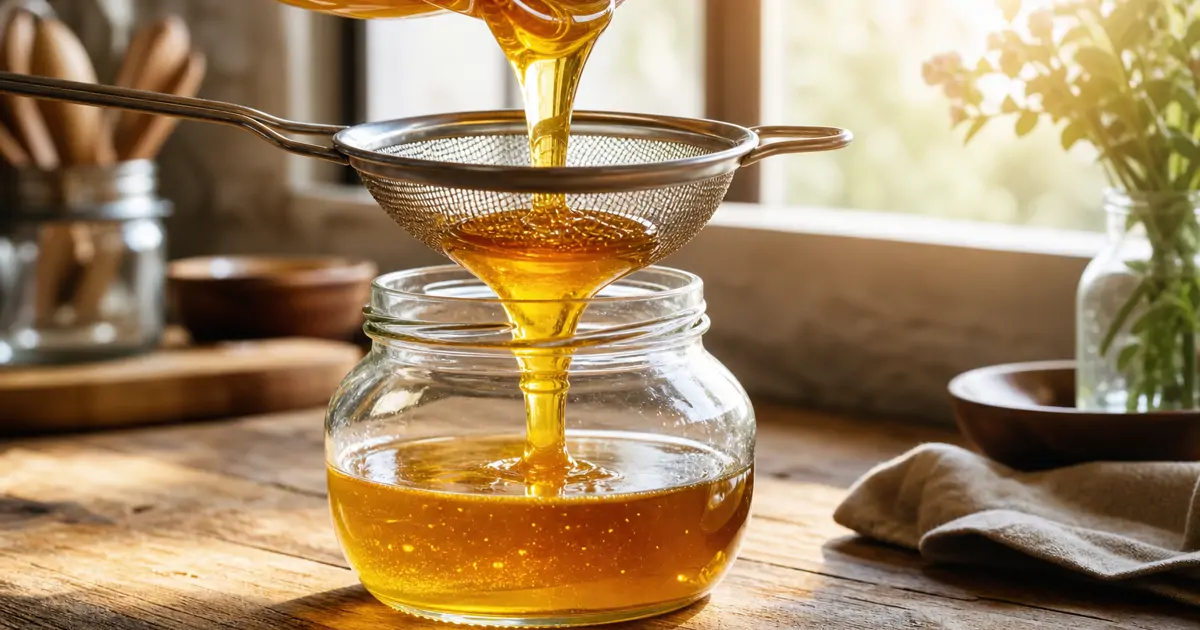
Honey Straining and Bottling: A Complete Guide
Once the frames come out of the extractor, the hard work of beekeeping is technically done, but the honey isn't ready for the table yet. Honey straining and bottling is the step that turns raw, cloudy extracted honey into something clean enough to sit on a shelf or hand to a neighbor. Skip it, or rush it, and you end up with jars full of wax flecks, bee legs, and pollen clumps that settle into an unappetizing layer at the bottom.
This stage matters most to backyard beekeepers who are bottling their first harvest and aren't sure how to strain honey correctly, what containers to use, or how long it can safely sit before it needs to be jarred. It also matters to anyone planning to sell or gift honey, since presentation and consistency affect how the product is perceived, even when the taste is identical to a less polished batch.
The sections below walk through why straining matters, how to do it correctly at home, and what to consider when choosing jars and storage conditions so the honey stays stable for months or years after bottling.
Why Straining Honey Matters
Straining honey isn't about making it look pretty, though that's a side benefit. Raw honey pulled straight from a honey extractor carries small amounts of beeswax, propolis fragments, pollen granules, and occasionally a stray bee part. None of this is harmful, and in fact many small-scale producers argue that leaving in trace pollen preserves more of honey's natural character. But left unfiltered, these particles create texture problems, accelerate visible separation, and can trap tiny air pockets that speed up fermentation in humid storage conditions.
A common misconception is that straining and filtering are the same thing. They aren't. Straining removes visible debris using mesh or cloth. Filtering, by contrast, usually involves finer materials or even heat and pressure to strip out nearly all solids, including much of the pollen. Commercial processors often filter aggressively because it extends shelf appearance and uniformity. Backyard beekeepers generally don't need to go that far, and many intentionally avoid it because raw honey with intact pollen is part of what makes homegrown honey appealing compared to raw honey vs processed honey found on supermarket shelves.
Coarse vs Fine Straining
Coarse straining uses a mesh with larger openings, often in the range of 400 to 600 microns, and is designed to catch wax cappings, larger propolis chunks, and insect fragments. Fine straining uses a tighter mesh, sometimes double-layered, that removes smaller wax particles and some pollen while still letting the honey flow through at a reasonable pace.
The tradeoff is speed versus clarity. Fine straining produces a smoother, more visually appealing jar, but it takes considerably longer, especially with thick or partially crystallized honey. Many backyard beekeepers use a two-stage approach: a coarse strain right out of the extractor to catch the bulk of debris, followed by a finer strain just before bottling. This double straining method balances clarity with a reasonable processing time and tends to produce fewer clogged strainers than jumping straight to a fine mesh.
How to Strain Honey at Home
Tools You'll Need
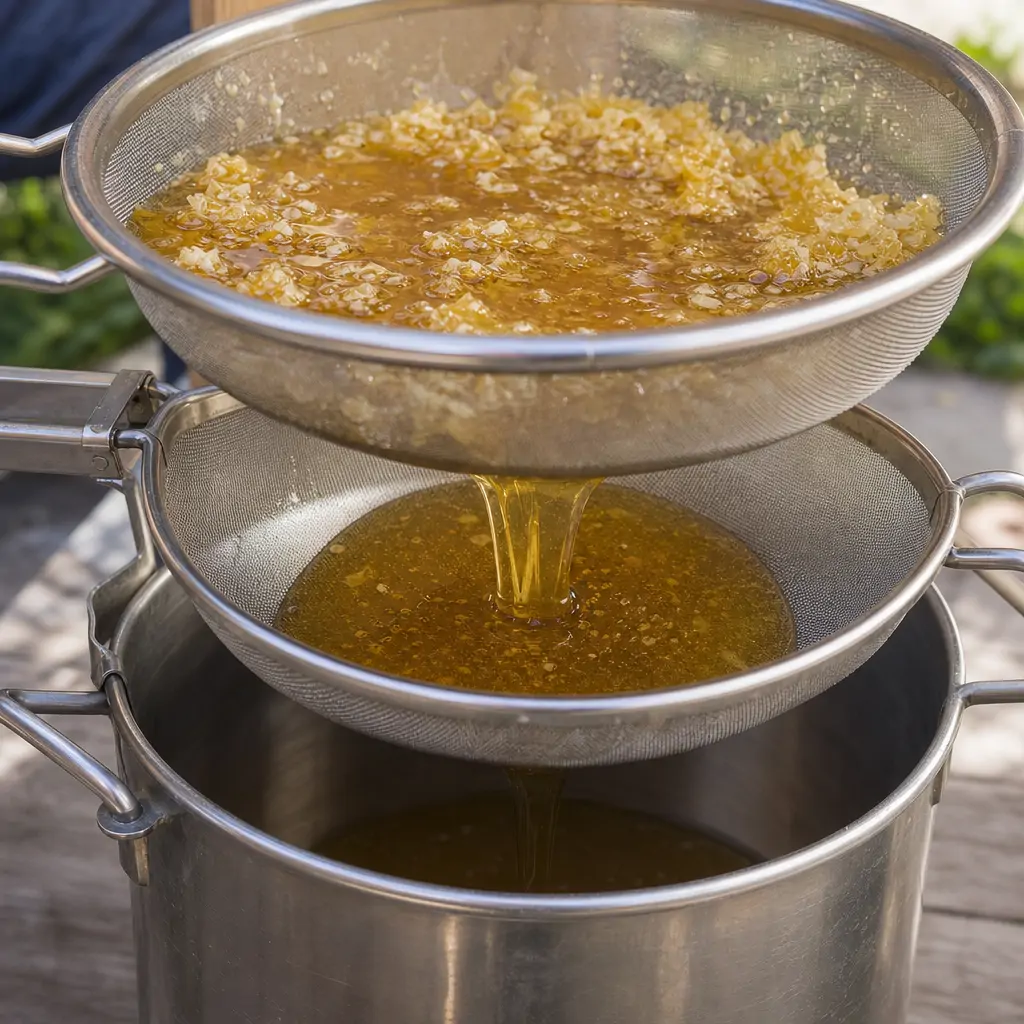
Most home setups don't require specialized equipment. A stainless steel double sieve that fits over a food-grade bucket, a length of cheesecloth or a nylon straining bag, and a large uncapping tank or bucket with a honey gate are usually enough. Avoid straining honey through plastic containers that haven't been rated food-safe, since some plastics can leach compounds into acidic, warm honey over time.
Temperature plays a bigger role than most beginners expect. Honey strains far more easily when it's still warm from extraction, typically between 85 and 95 degrees Fahrenheit. Once honey cools to room temperature, viscosity increases sharply and straining slows to a crawl. If honey has already cooled and thickened, gently warming the container in a water bath, rather than direct heat, restores flow without damaging the honey's natural enzymes and aroma compounds.
The following sequence reflects how most hobbyists approach the process after finishing the honey extraction process at the extractor:
- Position a coarse strainer over a clean bucket and pour extracted honey through it slowly, letting gravity do the work rather than forcing it.
- Let the honey settle in the bucket for 24 to 48 hours, loosely covered, so trapped air bubbles rise and any remaining fine debris floats to the top.
- Skim the surface layer of foam and floating particles with a clean spoon or spatula before the second strain.
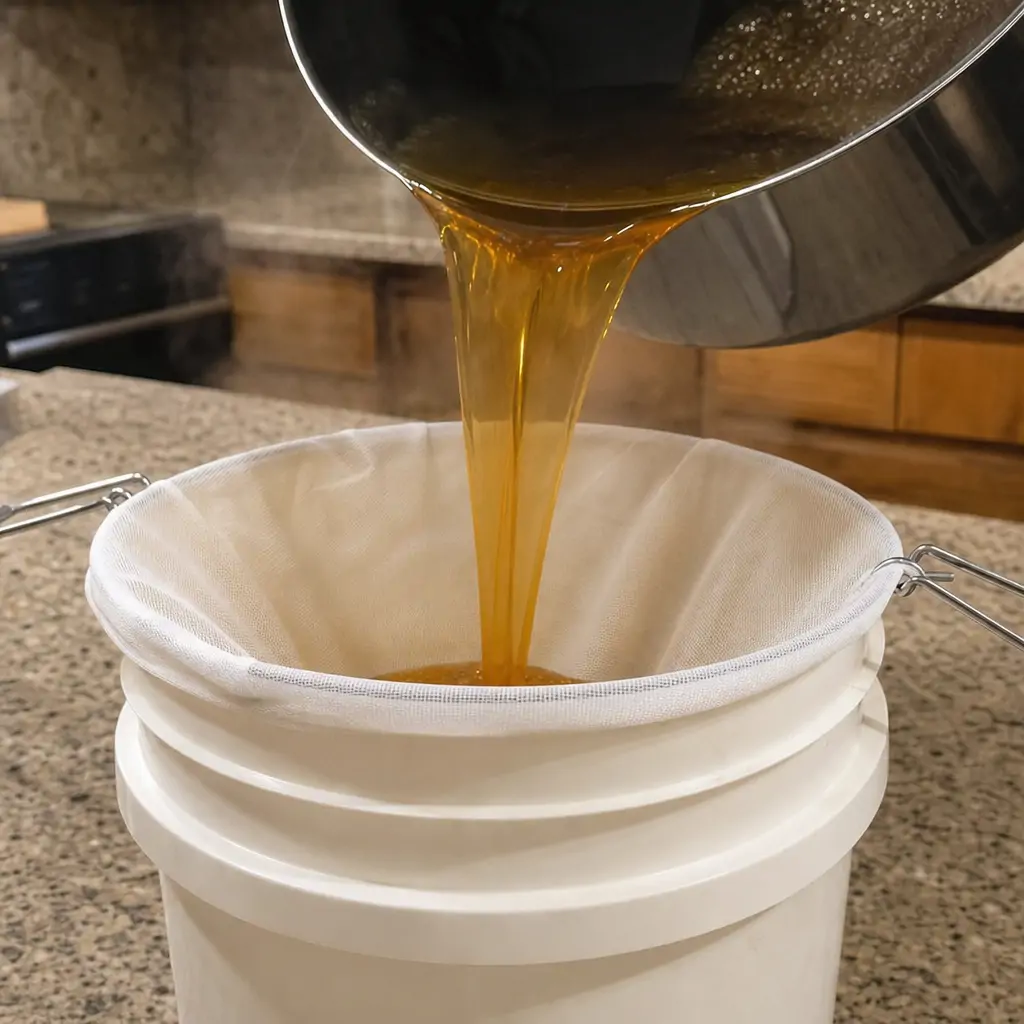
- Pour the settled honey through a finer mesh directly into the bottling container or a holding bucket with a honey gate valve.
- Check consistency by looking through the honey against light; a clean batch should look uniformly translucent with no visible floating specks.
A frequently overlooked detail is that straining too aggressively, or squeezing cloth bags to speed things up, forces small wax particles through the mesh that would otherwise have been filtered out. Letting gravity work, even if it takes an extra day, produces a cleaner result than rushing the process.
Bottling Honey at Home
Choosing the Right Containers
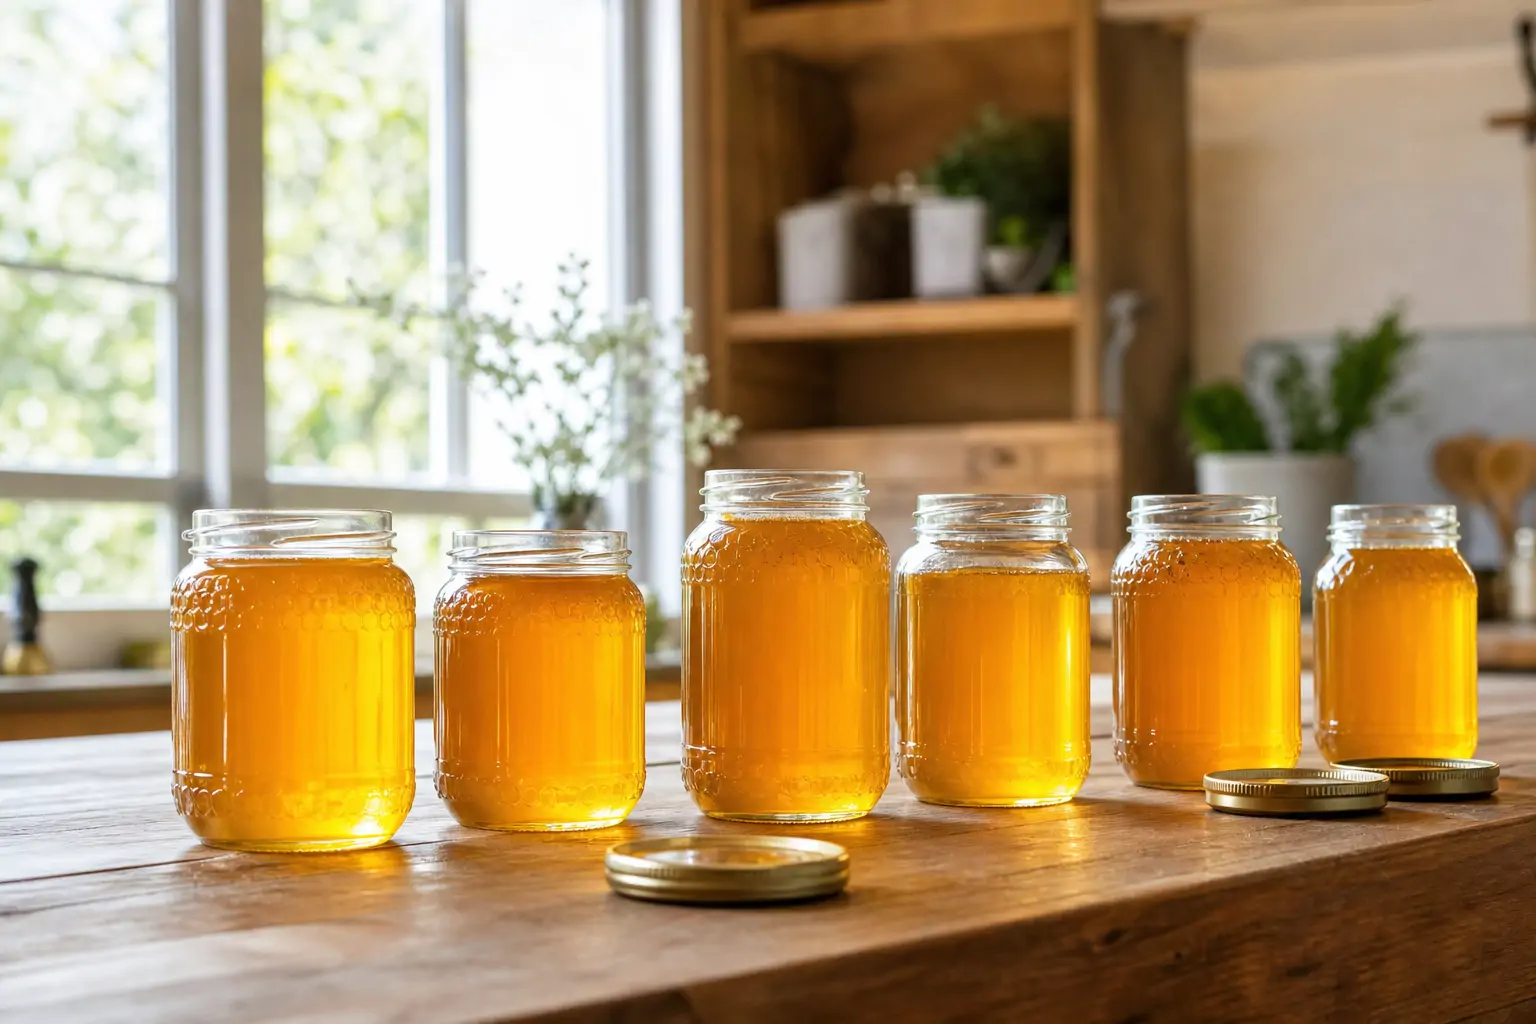
Glass jars remain the standard choice for bottling honey at home because they don't absorb odors, don't scratch easily, and let buyers or family members see the honey's color and clarity. Food-grade honey jars, whether classic mason jars, hex jars, or muth jars, all work fine as long as lids seal tightly and the glass has no residual moisture inside before filling. Plastic squeeze bottles are popular for convenience but are more prone to warping under heat and aren't ideal for long-term storage since some plastics allow slow moisture exchange over years.
Fill jars while the honey is still warm and flowing well, ideally straight from a bottling bucket with a gate valve rather than ladling by hand, which introduces more air bubbles and drips. Leave a small amount of headspace, roughly a quarter inch, since honey can expand slightly with temperature shifts during storage. Wipe rims clean before sealing; honey residue on threads is one of the most common reasons lids don't seal properly and jars develop sticky, ant-attracting drips over time.
Common Mistakes When Bottling Honey
One of the most common mistakes is bottling honey that hasn't fully settled, which traps microscopic air bubbles that later rise and create a cloudy band near the jar's surface. It looks like spoilage to an untrained eye, even though the honey itself is perfectly fine. Another frequent error is sealing jars while honey is still noticeably warm, which can cause condensation to form inside the lid as it cools, adding unwanted moisture that raises the risk of fermentation over long storage periods.
Moisture content deserves particular attention here. Honey with moisture above roughly 18 to 19 percent is more prone to fermentation regardless of how well it's strained or bottled, so checking moisture with a refractometer before bottling, especially for honey harvested during humid stretches, is a worthwhile habit many beginners skip entirely. It's also worth remembering that timing matters upstream of bottling; honey pulled at the best time to harvest honey, when moisture is naturally lower, requires less correction later.
Storage conditions after bottling matter almost as much as the bottling process itself. Jars should be kept away from direct sunlight and temperature swings, ideally in a cool, dark pantry rather than a garage that heats up in summer. Fluctuating temperatures accelerate the natural process behind why does honey crystallize, and while crystallization isn't a defect, many customers and family members mistake it for spoiled or fake honey, so labeling jars with a simple note about natural crystallization can prevent confusion later.
Any unusual mold growth, an off smell, or visible fermentation bubbles inside a sealed jar should be evaluated by a qualified professional before the honey is consumed, since these signs are uncommon in properly strained and bottled honey but not impossible under the wrong moisture and storage conditions.
Backyard beekeepers who take the extra time to settle, strain in stages, and bottle at the right temperature typically end up with jars that stay clear and stable for a year or more. The process isn't complicated, but it rewards patience over speed. Getting the straining and bottling stage right is often what separates honey that looks homemade in a good way from honey that looks unfinished, and it's a small investment of time compared to everything that went into getting the bees to that point.