How to Harvest Honey from a Beehive: A Step-by-Step Guide
How to Harvest Honey from a Beehive: A Step-by-Step Guide
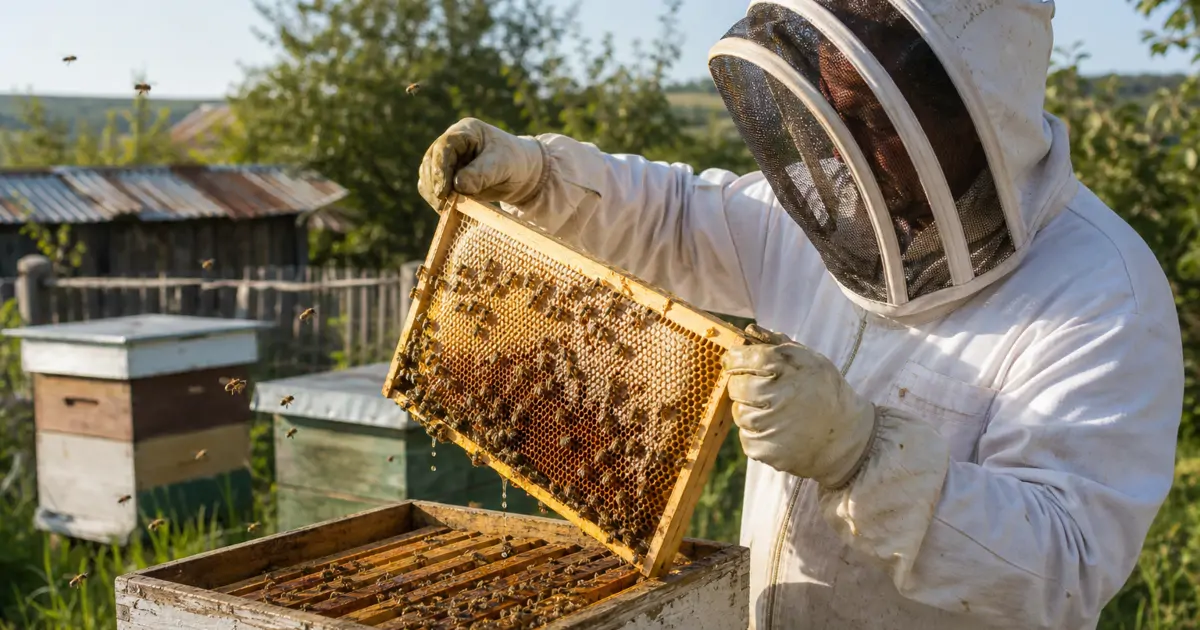
Pulling frames heavy with capped honey out of a hive for the first time is one of those moments that makes all the earlier work worthwhile. But harvesting honey is not as simple as opening the lid and scooping out whatever looks golden. Done at the wrong time, with the wrong tools, or without a plan for the bees left behind, a harvest can stress a colony, waste honey, or leave a sticky mess that takes hours to clean up.
This guide walks through how to harvest honey from a beehive from start to finish, aimed squarely at backyard and hobby beekeepers managing one or two hives rather than commercial operations. It covers how to tell when honey is actually ready, the honey harvesting steps themselves, and what happens once the frames come inside for extracting honey at home. Along the way, it flags the mistakes that trip up even experienced hobbyists, because knowing what not to do often matters as much as knowing the steps.
Whether this is a first harvest or a tenth, the details below should fill in gaps that shorter overviews tend to skip.
Getting Ready: Timing, Tools, and Weather Considerations
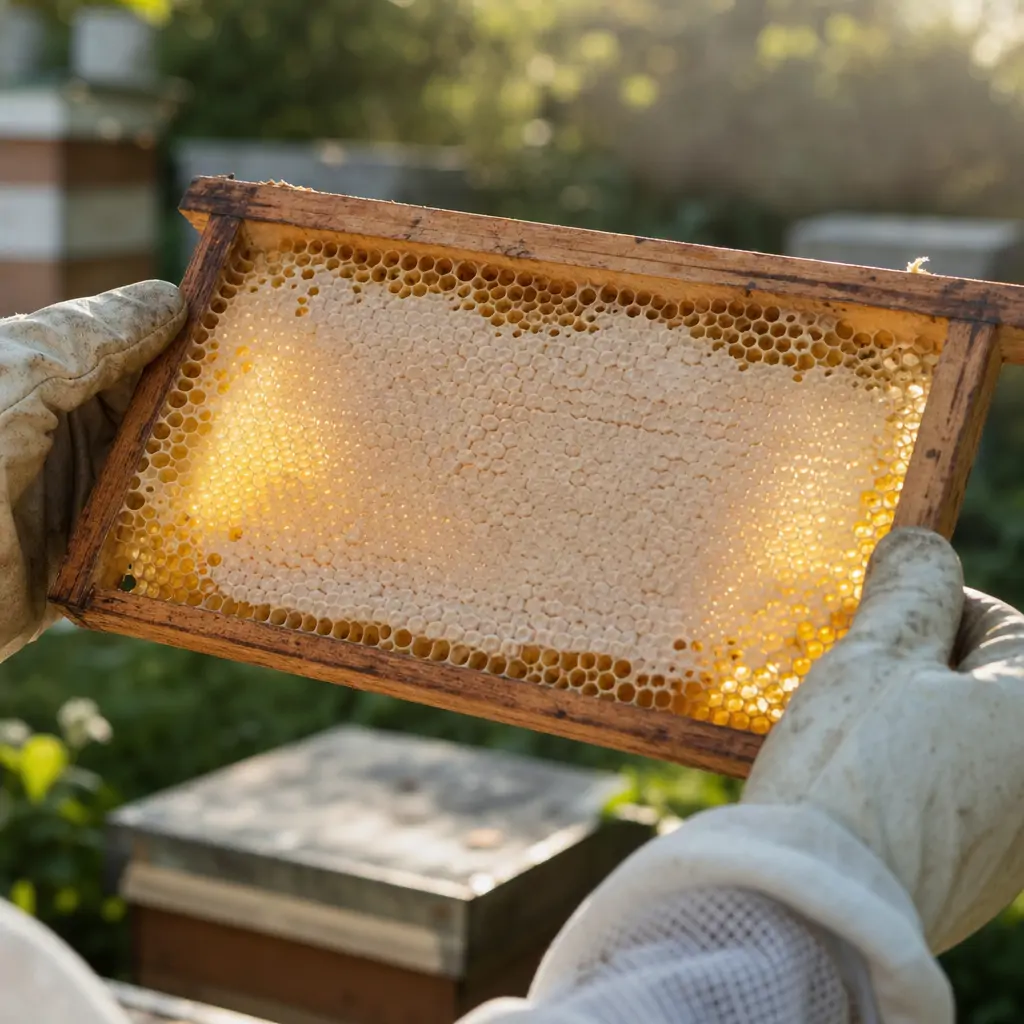
Harvest timing is where a surprising number of backyard beekeepers go wrong. Pulling frames too early, before the bees have finished processing nectar into honey, results in a jar of thin, watery liquid that ferments in storage. The best time to harvest honey is when at least 80 percent of a frame's cells are capped with wax, since capping is the bees' own signal that the moisture content has dropped low enough for long-term storage. An uncapped frame, even one that looks full, is often still too wet to bottle safely.
Seasonal timing matters too. In most of the United States, a honey harvest season falls in mid to late summer, after the main nectar flow has slowed, though climate and local forage can shift that window by several weeks in either direction. Harvesting too late in the fall risks taking honey the colony needs to survive winter, which is a genuine risk to the hive's survival rather than just a beekeeping inconvenience.
Weather on harvest day matters more than most beginners expect. Warm, dry, calm afternoons are ideal, because bees are calmer and honey flows more easily when it is not cold and thick. Cool or rainy days tend to make bees defensive and honey sluggish, which slows down every later step.
Tools should be gathered before the hive is ever opened, not midway through. A bee suit or veil, smoker, hive tool, uncapping knife or fork, a clean extractor or crush-and-strain setup, food-grade buckets, and fine mesh strainers are the baseline. Many first-time harvesters underestimate how much equipment cleanup adds to the timeline, so setting up a dedicated extraction space in advance, away from the kitchen where possible, saves considerable frustration later.
Takeaway: rushing the calendar or skipping the capped-cell check is the single most common reason a first harvest disappoints.
Honey Harvesting Steps: From Hive to Kitchen
Once timing and tools are sorted, the actual process of harvesting honey from a beehive follows a fairly consistent sequence, even though the equipment used to get there varies from one beekeeper to the next.
Step 1: Inspect Frames for Capped Honey
Open the hive calmly and check each frame individually rather than assuming the whole box is ready. Some frames near the edges of a box often lag behind the center frames in capping progress. Only pull frames that meet the 80 percent capped threshold; partially capped frames can be left for a later harvest.
Step 2: Remove Bees Without Stress
Bees need to be cleared from a frame before it leaves the hive, and there are several ways to do this. A bee escape board placed a day or two before harvest lets bees drift down into the lower boxes overnight, leaving the honey super largely empty by morning. Brushing bees off individually works for small harvests but tends to agitate the colony more than a board or a gentle blower does. Whichever method is chosen, moving slowly and avoiding crushing bees against frame edges reduces defensive behavior significantly.
Step 3: Uncap and Extract the Honey
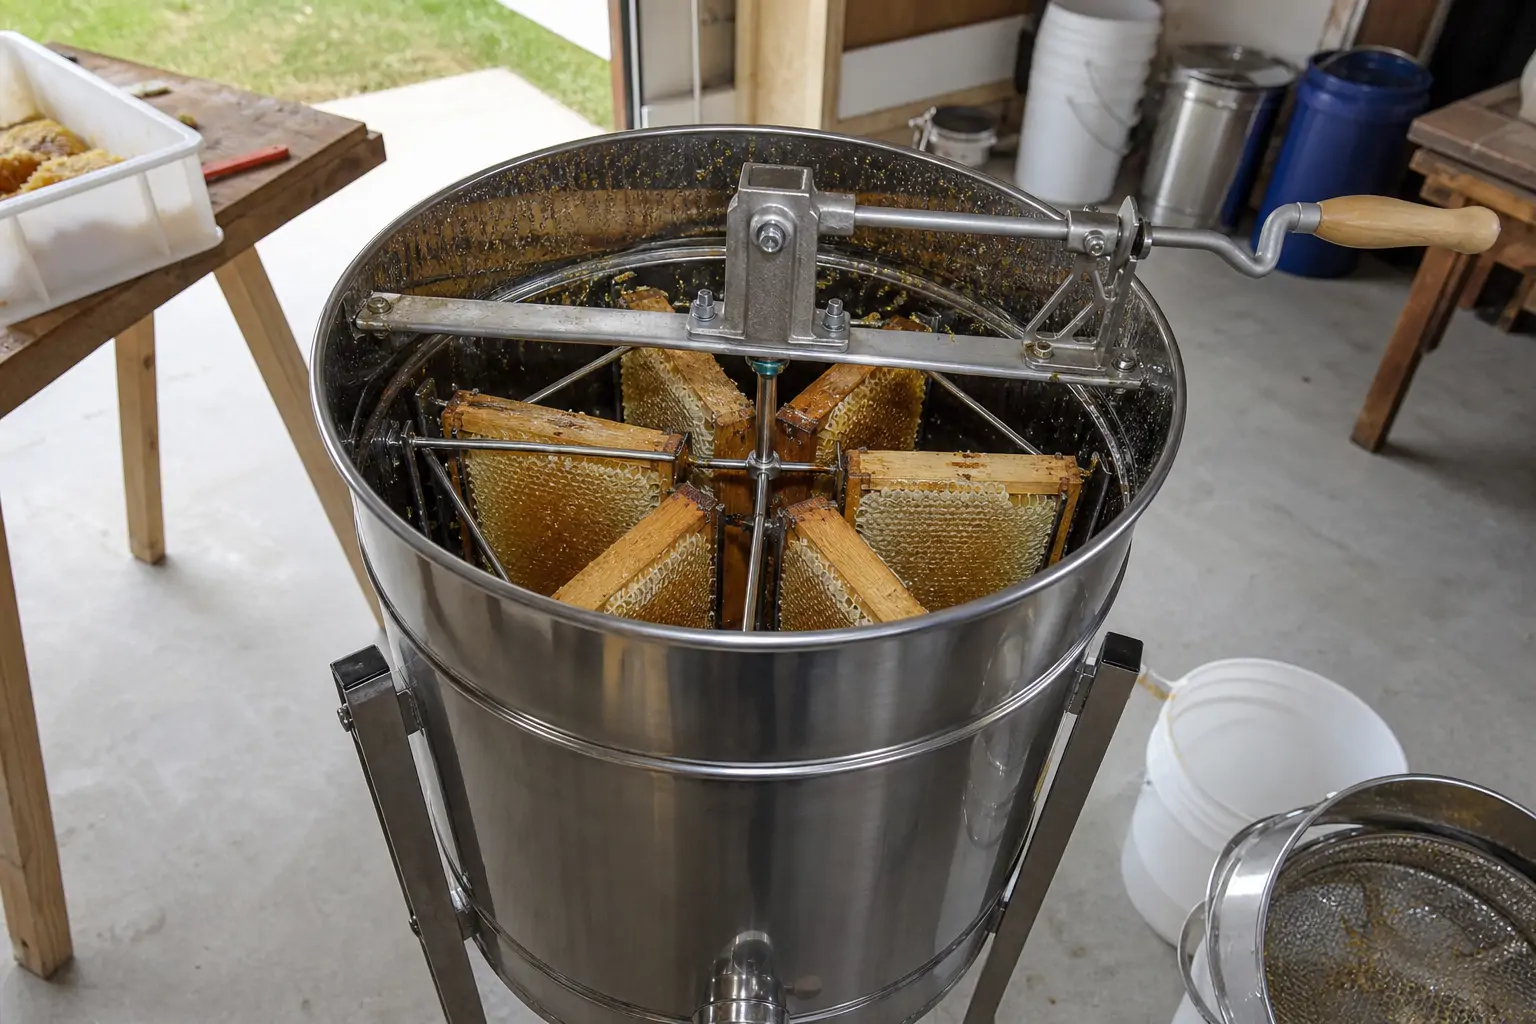
Back in the extraction space, each frame's wax capping is sliced off with a heated knife or uncapping fork, exposing the honey underneath. From here, the honey extraction process typically follows one of two paths: spinning frames in a centrifugal extractor, which pulls honey out while leaving the comb largely intact for reuse, or crushing the comb entirely and letting honey drain through a strainer, which destroys the comb but requires no specialized machinery. Neither approach is universally better; the choice usually comes down to how many hives are kept and whether reusable comb is a priority.
Step 4: Strain, Bottle, and Store
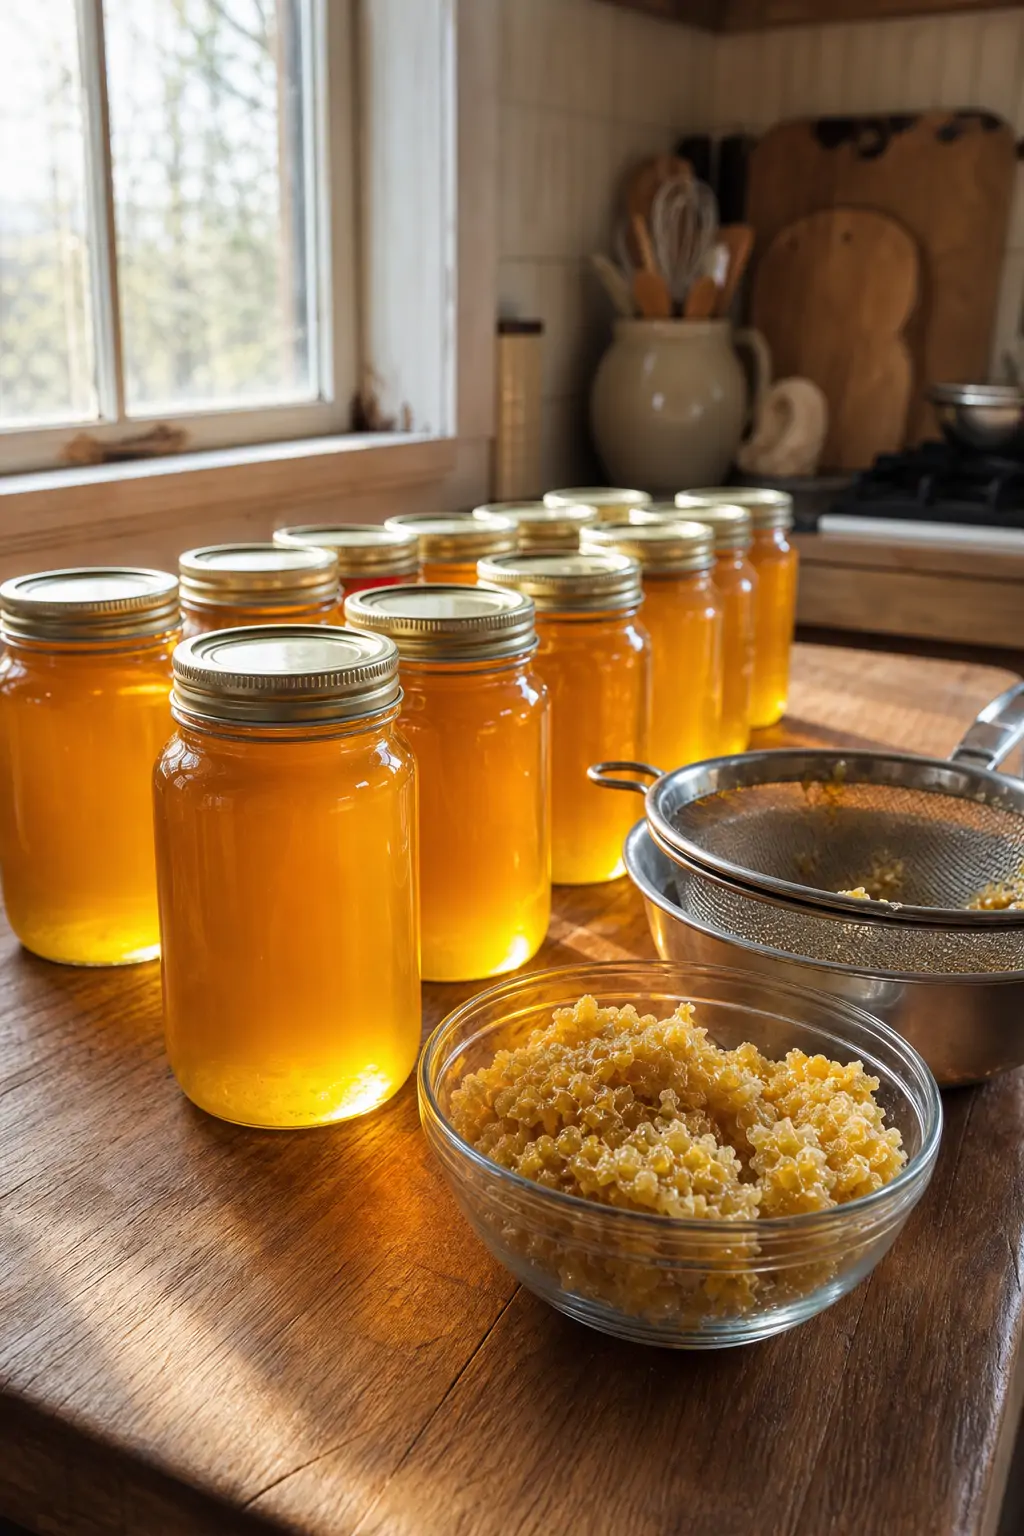
Freshly extracted honey still contains bits of wax, propolis, and occasional bee parts, so honey straining and bottling through a mesh filter is a non-negotiable step before it touches a jar meant for the table. After straining, honey should rest briefly in a bucket to let air bubbles rise before bottling, since trapped air can make finished jars look cloudy. Glass jars with tight lids, stored in a cool, dark cabinet, keep honey stable for well over a year without refrigeration.
Takeaway: each step exists to protect either honey quality or the health of the colony, so skipping one to save time usually costs more time later in cleanup or spoiled product.
Common Mistakes That Ruin a Harvest
Even careful beekeepers repeat a handful of predictable errors, and most of them are avoidable with a little forethought.
Harvesting from a single hive without weighing what's left behind is a frequent misstep. Average honey yield per hive varies widely by region and season, but taking every capped frame without checking whether the colony has enough stores for winter can leave bees short on food months later. A related error is extracting on a humid day; honey pulls moisture from the air, which can push a properly capped batch back into fermentation territory after the fact.
Another overlooked issue is cross-contamination between equipment used for honey and equipment exposed to other chemicals, cleaning agents, or strong odors, since honey absorbs smells readily. Storing extraction buckets near solvents or gasoline, even briefly, can taint an entire harvest.
Finally, many beginners assume raw honey straight from the extractor is identical to store-bought honey, when in practice the difference between raw and regular honey comes down to filtering and heat processing. Raw honey retains more pollen, enzymes, and subtle flavor variation, which is part of why many backyard beekeepers prefer it, but it also crystallizes faster and separates more visibly over time, which is normal rather than a sign of spoilage.
Takeaway: most harvest failures trace back to rushing a step meant to protect either the bees or the finished product, not to any single dramatic error.
Harvesting honey rewards patience more than speed. Waiting for properly capped frames, working calmly around the bees, and taking the straining and bottling stage seriously all add up to a better jar and a healthier colony going into the next season. Once the rhythm of a harvest becomes familiar, it turns from an intimidating task into one of the more satisfying parts of keeping bees.